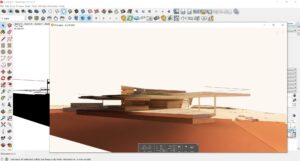
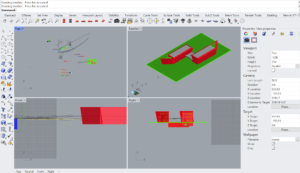
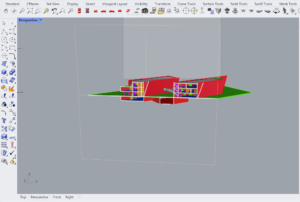
Step 1: Open your model
- Be sure your model is the most current version!
Step 2: Align your model
- Consider what part of your building you would like to show.
Some questions to ask are: Where will you cut? What will your section cut through? What is in the background? What direction will you face?
Step 3: Cut your section!
- Using the Section tool, locate the plane where you want to cut your model
- Tip: holding shifts locks the section into a single plane, so once you have aligned it, hold shift to make sure it doesn’t accidentally change before you cut your section.
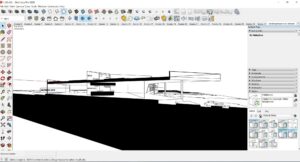
Step 4: Adjust your camera
- Be sure to align your camera in SketchUp with the section
- Select what kind of drawing project you want: perspective, two-point perspective, or parallel projection.
- Tip: select a face that is parallel to your view then right click > align view to align your camera square to your model.
Step 5: Export your model
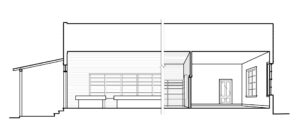
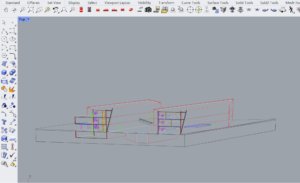
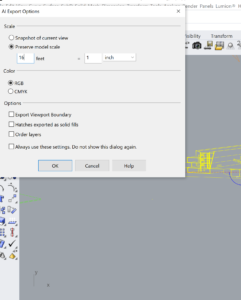
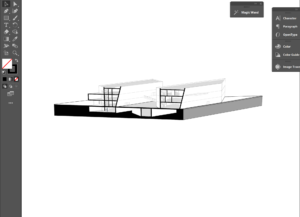
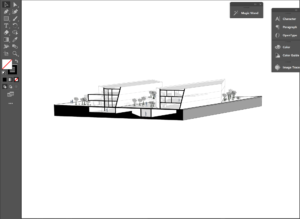
- Basic section perspectives are normally composed solely of linework, to do this go to File > Export > 2D graphic and select your preferred file type
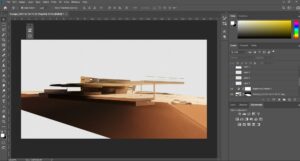
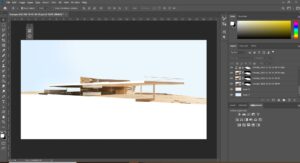
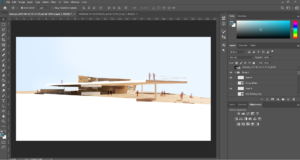
- If you would like to render your model, many rendering programs have plugins available to can be accessed directly from your modeling software (e.g. Enscape in SketchUp) and we will cover a basic render with minor post-processing
Step 5.5: Render your model
- Using Enscape, set up your view in the Enscape scenes
- Make the view two-point perspective
- Adjust Enscape settings as necessary to achieve your desired look
- Export your final rendered view
